
This post may contain affiliate links. Please read my disclosure for more info.
Discover the joy of making coffee with AeroPress and cold brew – two simple yet flavorful methods. Wondering if you can create cold brew using an AeroPress? Absolutely! Let’s dive into how to do just that.
Dive into the world of AeroPress cold brew! Discover its unique taste and learn two simple recipes to make it at home. Plus, I’ll show you a cool AeroPress attachment that makes brewing cold coffee a breeze.
Iced Coffee vs Cold Brew
Let’s bust a myth before diving into AeroPress cold brew recipes.
Iced coffee starts with hot water to brew, then it’s chilled to perfection. You’re not limited to an AeroPress; any hot brewing method works! The trick is to brew it a bit stronger than usual hot coffee. Why? So it still tastes great, even as the ice melts.
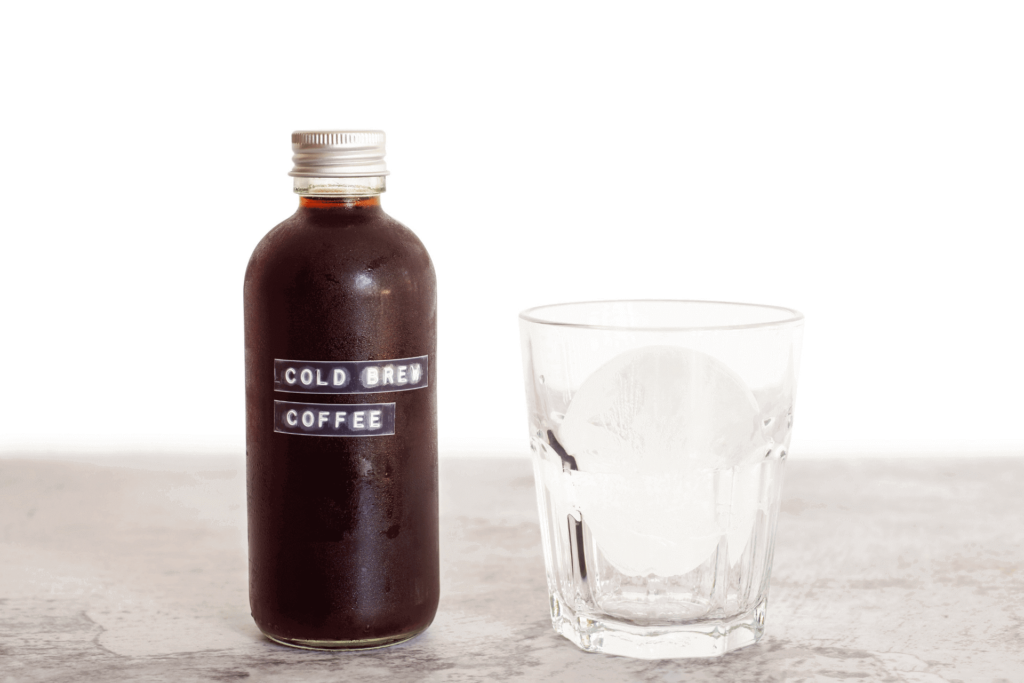
Cold brew coffee is made with cold or room temperature water, not hot! It’s prepared with coarsely ground beans, lots of water, and patience, as it needs to brew for over 12 hours. This process makes a strong coffee concentrate that’s often mixed with water or milk to lighten it up. Check out the perfect coffee-to-water ratio for your brew!
Cold brew coffee is like a gentle giant – smooth and mellow, without the sharp bitterness or sourness you might find in regular coffee. It doesn’t go for the flowery or fruity tastes, but instead brings out the rich, chocolatey, and nutty flavors hidden in the beans.
How to Make Cold Brew With AeroPress
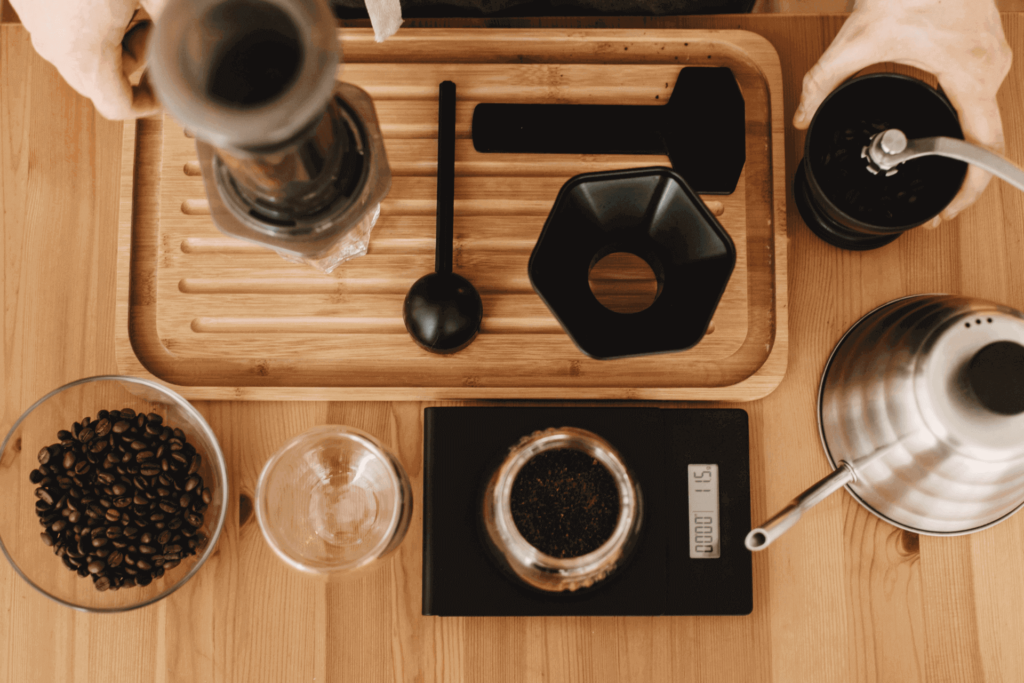
If you’re exploring cold brew with an AeroPress, you might find some recipes suggesting you make it hot and then cool it down with ice. While tasty, that’s more of an iced coffee, not true cold brew. For those who love the smoothness of genuine cold brew, I’ll share a few ways to create it directly in your AeroPress. Let’s dive into making real cold brew coffee together.
Option 1: 2-minute AeroPress cold brew
Let’s dive into a fun twist on Alan Adler’s famous AeroPress cold brew. It’s quick, easy, and captures the essence of AeroPress magic. Perfect for beginners!
What you’ll need
- 14.0 grams (about 3 Tbsp) finely-ground coffee
- 60 grams (1/4 cup) of filtered water. You want the water to be at room temperature. Adler suggested tap water, which might be fine depending on the quality of your water. Filtered is definitely safer to ensure quality.
- More filtered water to dilute
- A coffee grinder. If you are using whole bean coffee.
- Your AeroPress.
This recipe calls for a 1:4.3 cold brew coffee-to-water ratio. It’s a bit stronger than usual for cold brew, but it’s key for a fast extraction.
Step-by-step instructions
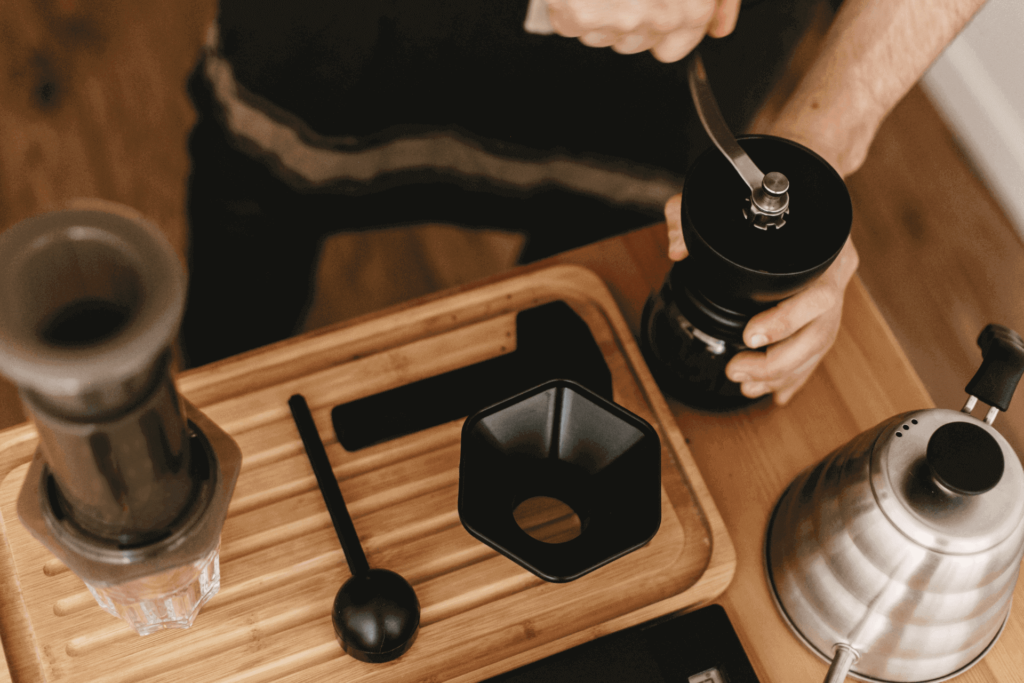
- Grind your coffee beans. (Only if using whole beans) Use a fine grind setting which should result in a texture similar to table salt. Use a burr grinder if you have access to one, as blade grinders will produce too uneven a grind for this recipe.
- Rinse and attach the filter. Rinse your AeroPress paper filter and put it in the filter cap. Then, attach the filter to the brewing chamber. Rinsing helps avoid any residue of filter paper making its way into your coffee.
- Prepare your AeroPress. Place the AeroPress brewing chamber (with the filter attached) on top of your mug or another sturdy container.
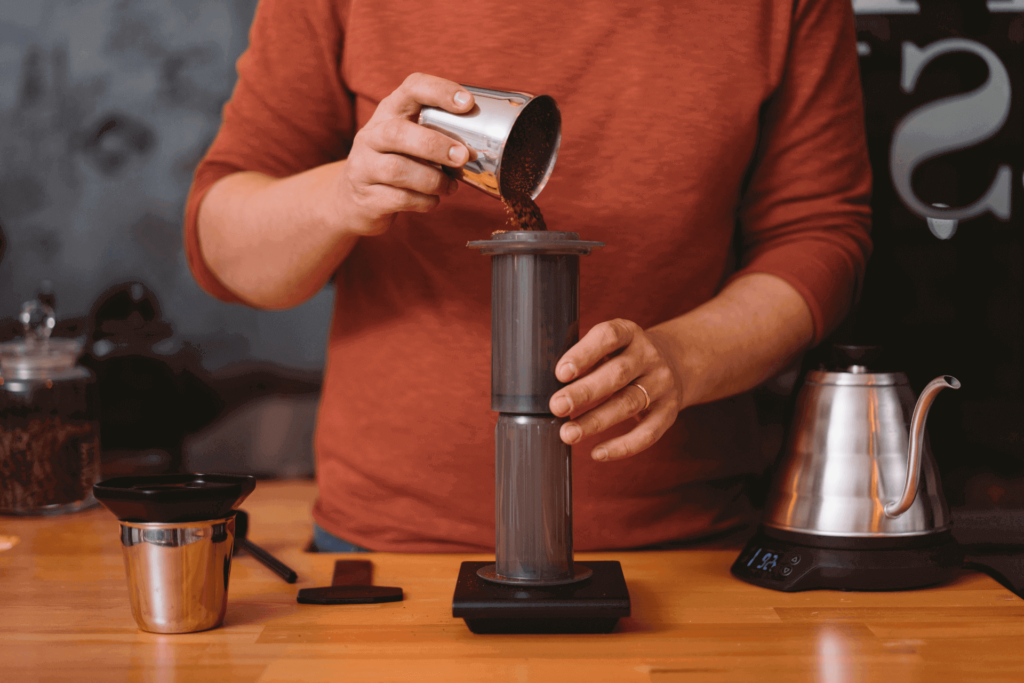
- Add the grounds. Pour the grounds into the brew chamber and shake lightly to level them out.
- Pour the water. Add the water to the brew chamber.
- Stir the mixture. Use the paddle to stir the grounds and water together for a full minute. Don’t try to cut this step short as the full minute is absolutely necessary to avoid under-extracting the coffee. Make sure to stir from the bottom to get all of the grounds into contact with the water.
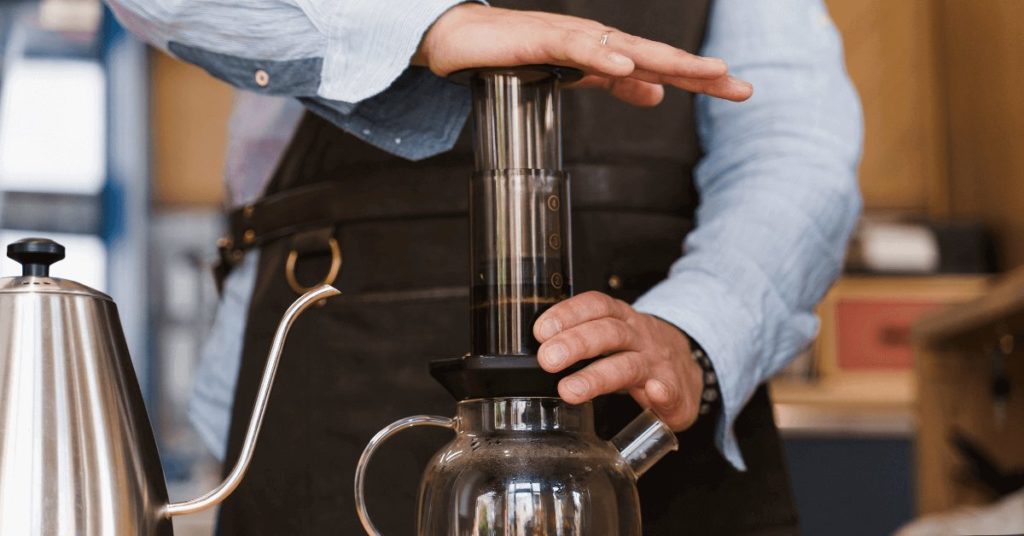
- Plunge. Insert the plunger and press it down gently. You just need enough pressure to hold the plunger firmly pressed against the liquid — gravity will do the rest. Continue plunging until all of the liquid has passed through the filter. Remove the AeroPress.
- Dilute your coffee. Your mug is now filled with cold brew concentrate, which you’ll want to dilute. I’d recommend a 50/50 concentrate-to-water mixture, but you can add more water if it is still too strong.
- Enjoy!
Option 2: Overnight AeroPress cold brew
Here’s a cool trick for those without a cold brew maker. Use your AeroPress! It’s simple: just follow a basic cold brew recipe, but let the AeroPress be your brewing buddy. The plunger makes filtering a breeze. However, if you’re a cold brew fanatic, investing in a cold brew coffee maker might still be your best bet.
What you’ll need
- 23.7 grams (4 and 2/3 Tbsp) coarse-ground coffee
- 118.3 grams (4 ounces) of filtered room-temperature water. Any water will do, but filtered water has fewer impurities and minerals that can impact the flavor of the brew.
- More filtered water to dilute
- A coffee grinder. Skip this if you are using pre-ground coffee.
- Your AeroPress.
This recipe mixes 1 part coffee with 5 parts water. If it’s too strong, try 1 part coffee to 8 parts water.
Step-by-step instructions
- Prepare your AeroPress. This recipe uses the inverted AeroPress method, so place the plunger into the top of the brewer and turn the entire thing over. That way, the plunger is underneath the main chamber. If you have a coffee scale, place the inverted AeroPress on it and tare the scale to make weighing the grounds and water easier.
- Grind your coffee beans. (If starting with whole bean coffee) Use a coarse or extra-coarse setting, which should have the texture of ground peppercorn. A burr grinder is ideal for this since they let you control the grind size directly. If you are using a blade grinder, use 1-second pulses until the right consistency is reached. Add the grounds to the AeroPress chamber and re-tare the scale if you are using one.

- Add the water. Add the water to the brewing chamber with the grounds.
- Stir the coffee. Stir the mixture gently with the paddle. Your goal is just to get the grounds fully into contact with the water, so a second or two should be fine.
- Cover the AeroPress. Since we are going to let this sit a while, it needs a cover to avoid anything falling into the brew. It’s easiest to just put the filter and filter cap over the top of the AeroPress, but you can also use a lightweight cup or lid.
- Let the coffee brew. Leave the AeroPress on your counter or in the fridge for at least 24 hours. Just keep it out of direct sunlight and away from any sources of heat.
- Rinse and attach the filter. Rinse a piece of AeroPress filter paper, place it in the filter cap, and screw the cap into place. Rinsing isn’t strictly necessary, but it helps to eliminate any papery taste from infecting the coffee.
- Filter away the grounds. Flip your AeroPress onto a mug or other sturdy container and push the plunger down. Your plunging speed doesn’t really matter since we aren’t using the AeroPress as a pressure brewer here. In fact, you could even remove the plunger and let gravity do the work if you really wanted to, but it will take a while.
- Dilute your coffee. You’ve made the cold brew concentrate, but you probably want to dilute it before drinking. Start with a 50/50 concentrate-to-water ratio. If that’s still too strong, you can keep diluting until the strength matches your preferences.
- Enjoy your cup of coffee!
Bonus Option 3: Puck Puck cold brew
Forget about complex recipes! This cool gadget transforms your AeroPress into a slow-drip cold brew maker in seconds. Simply hook up a regular water bottle and you’re all set. Its special splash filter guarantees the cold water spreads perfectly over your coffee grounds. Plus, there’s an app to fine-tune the dripping speed, ensuring you get the perfect cold brew every time.
Creating cold brew using the AeroPress and Puck Puck is a sweet spot, taking only 2.5 hours compared to other methods. Ensure your water bottles match their compatibility list, or grab Puck Puck’s own water vessel to skip the bottle hunt.
Is AeroPress Cold Brew Any Good?
Absolutely! But remember, the taste might surprise you. Whether you choose one of the three methods, it’s crucial to use the top coffees for cold brew. They ensure your drink closely matches the familiar cold brew flavor you love.
Not all brewing techniques are the same. Interestingly, the slower methods often lead to a richer, classic cold brew taste.

Discover the 2-minute cold brew method! It creates a unique coffee blend, almost like cold brew, yet with a hint of AeroPress’s flavor. Perfect for fans of both styles, though pure cold brew lovers might find it a bit different.
Using the overnight method gives you authentic cold brew flavor, just like the classic version. The twist? We’re making it in an AeroPress. It’s a simple change, but it gives your cold brew a unique touch.
The Puck Puck is a game-changer for cold brew lovers. It whips up a drink that’s almost identical to your favorite cold brew in taste, but it’s quicker. With its method, you get that silky smooth taste and gentle acidity cold brew is known for. While there’s a slight difference if you really focus, it’s tough to beat this speedy method for a cold brew-like experience in under three hours.
Like AeroPress, but Colder
The AeroPress shines with its flexibility. Love AeroPress espresso? You’ll want to dive into AeroPress cold brew. Perfect for cold brew newbies or those seeking fresh methods, these recipes offer simple (and often speedy) steps to achieve that silky cold brew taste. Whether you’re a beginner or eager for a new twist, it’s a game-changer.
Looking for a new cold brew experience? Try making nitro cold brew at home. It’s a fun and tasty variation of the usual cold brew, perfect to experiment with, especially if you’ve just made your first AeroPress cold brew.