This post may contain affiliate links. Please read my disclosure for more info.
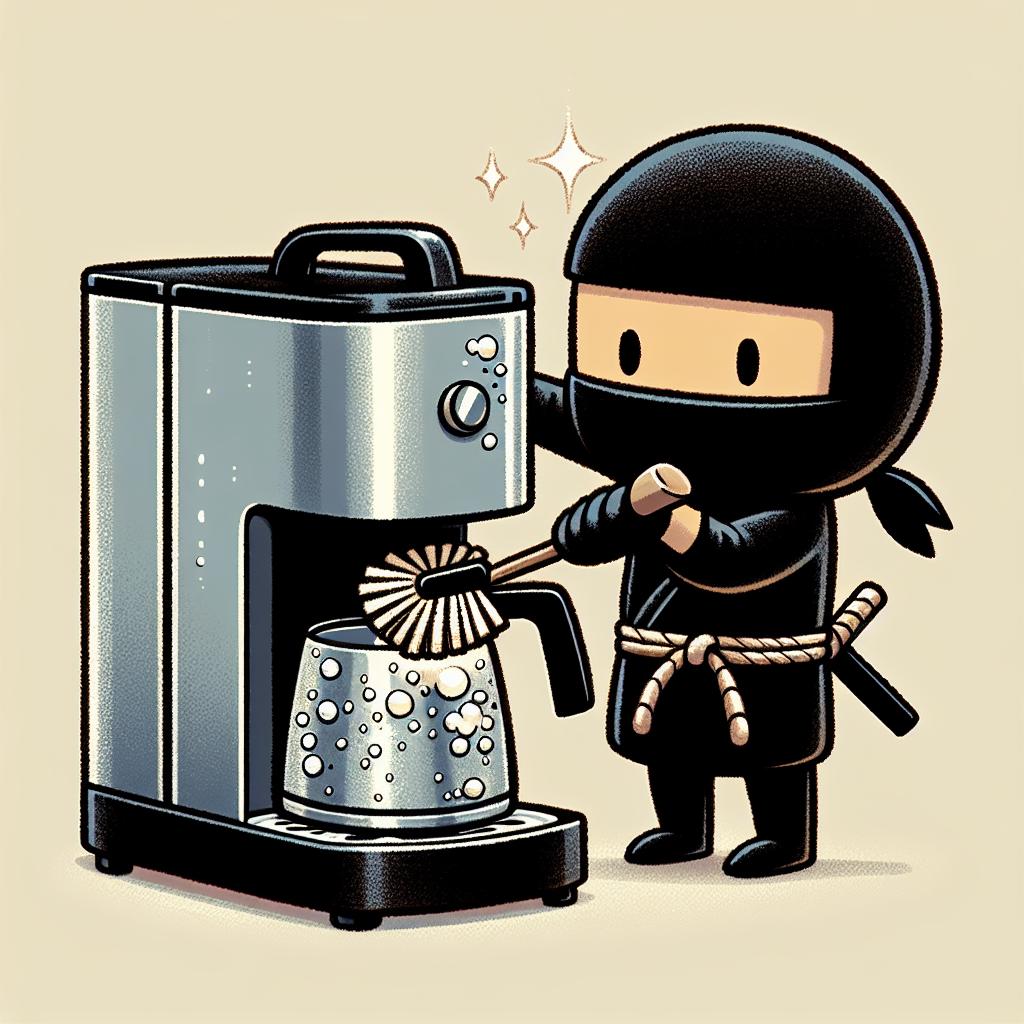
Seeing a green ‘Clean’ light blinking on your Ninja Coffee maker? It’s great at reminding you it’s time for a clean-up, but not so helpful with the “how-to.” Plus, that pesky light can be stubborn about turning off!
In this guide, discover easy steps to clean your Ninja coffee maker – from the inside out, including the body and milk frother.
Why You Should Descale Your Coffee Maker
Descale your coffee maker regularly! It’s a key cleaning step many overlook, but it’s crucial for great-tasting coffee.
Hard water can clog your coffee machine with minerals like calcium. This can happen even if you use filtered or bottled water, as calcium, limescale, and germs still sneak in. These build-ups can damage your machine, spoil your coffee’s taste, and may even impact your health.
Keeping your Ninja Coffee Bar clean is crucial. By running the clean cycle, you get rid of calcium build-up, bacteria, and germs. It’s an easy process with a few different ways to do it. Perfect for a fresh coffee experience!
Cleaning Ninja Coffee Maker With Vinegar
If the clean light on your Ninja coffee maker turns on, don’t wait! Mix white vinegar with water and clean your machine right away. If you ignore it, your coffee maker will stop working in three days. This is Ninja’s way of reminding you to keep your coffee bar clean, ensuring it stays in good shape and you stay healthy.
Easily clean your Ninja brewer with vinegar by following these steps.
- Remove any remaining coffee/grounds from the carafe (coffee pot) and filter basket.
- Fill the water reservoir halfway with a 50/50 mixture of white vinegar and filtered water.
- Hit the clean button.
- Once the clean cycle is done, wash the reservoir, carafe, and brew basket with warm soapy water then rinse them thoroughly.
- Fill the reservoir with clean water (no vinegar this time). Press the clean button again. Do this 2 – 3 more times to ensure no vinegar residue or smell could give you future coffee drinks a bad taste.
Descaling Ninja Coffee Bar Using Descaling Solution
If your coffee machine isn’t getting clean with just vinegar, especially with hard water, it might be time to try something stronger. Descaling solution may cost more, but it’s great at removing mineral deposits, keeping your coffee tasting fresh.
You can clean your coffee machine with a descaling solution just like you would with vinegar. The main change is to mix it according to the instructions on the descaling solution bottle, not 50/50. Often, this means pouring the whole bottle into the machine and topping off the tank with water. Follow these steps for a sparkling clean coffee maker!
Discover alternative ways to clean your coffee maker beyond vinegar. While vinegar works great for routine cleans, a descaling solution is the top choice for deep cleaning. Aim to use it every 1–3 months, especially if your water is hard.
Cleaning the Exterior of Your Ninja Coffee Maker
Just like the inside, your Ninja coffee maker’s outside needs attention too! Remember to clean the machine’s exterior, the measuring spoons, and the heating pad under the carafe. These parts can get surprisingly dirty and impact how well your coffee maker works. Keep it all clean for the best brews!
How to Clean the Milk Frother
Machines with milk frothers need cleaning after every use to prevent bacteria.
Cleaning your frother is easy! Just grab a cup and fill it halfway with warm water. Place it under the milk frother, switch it on, and let it whirl for 20 to 30 seconds. This quick step washes away left-behind milk bits. Doing this can prevent you from getting sick and keep your lattes tasting fresh.
What is the Flush Cycle?
Some models contain the Flush cycle.
The Flush cycle kicks in right after the main cleaning of your coffee machine. A light next to the clock will glow, spelling out “Flush”. Spot that light? It’s time to follow a few simple steps.
- Dump the liquid that is in the carafe or cup out. Rinse it off. Clean under the spout, too, where the coffee comes out.
- Add water into the reservoir until you hit the max line, then press the ‘CLEAN’ button again. (Do this right away, as you have a 15-minutes before the entire process times out.)
- The machine will then go into its 8-minute flush cycle. Once the lights shut off, the process is complete.
- After this run, the clean cycle again. Fill the reservoir with water and do another flush cycle for a thorough cleaning.
- Lastly, take out your filter using warm soapy water and wash and rinse it. Do this with your Ninja carafe and water reservoir, too. Dry them and and return them to the brewer.
That’s it; now you’re ready to make some awesome Ninja-grade coffee!
If your machine doesn’t have a flush cycle, just run the cleaning cycle twice to clear out any leftover cleaner from the tubes. This keeps your coffee tasting great!
What’s Next?
Even the top Ninja coffee bars need some TLC occasionally. This is the case for all coffee machines, from Ninja to Nespresso. Actually, they’re quite simple to maintain, especially when you compare them to an espresso machine.
Now that your Ninja is ready to go, why not try brewing a delicious Ninja espresso or a refreshing cold brew? If you’re still facing issues with bitter coffee or your Ninja isn’t working, consider switching to a newer Ninja Specialty Coffee Maker for a better coffee experience.


